
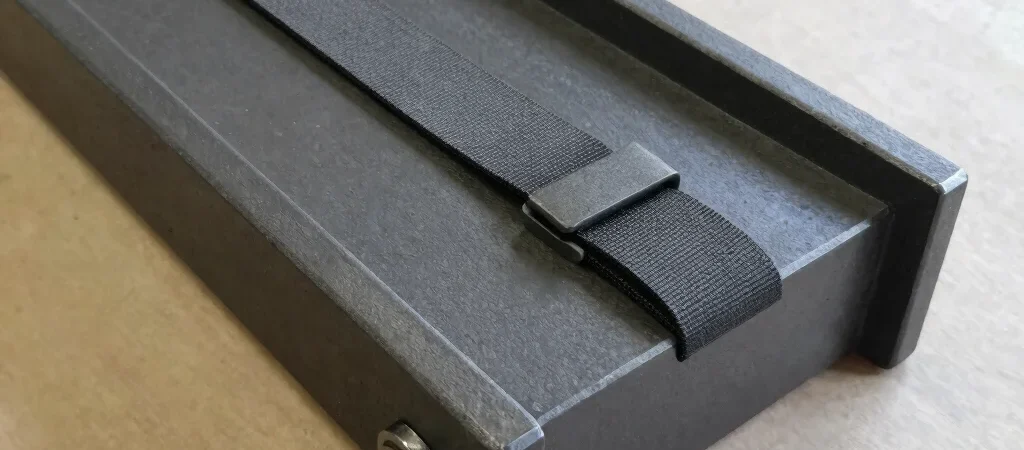
On a push-and-pull sled, the pull point can be easy to treat as an afterthought: add a loop, clip on a strap, and start moving. But the attachment sets the line of force between the user and the frame. Its location can affect how the sled tracks and how its runners stay in contact with the floor.
Follow the line of force
A higher attachment point gives the strap a more upward angle, depending on the user’s position and distance from the sled. That upward component may change how the frame loads its contact points; the result depends on the sled’s geometry and how it is loaded. A lower point keeps the pull closer to the base, but still needs enough clearance to avoid dragging or catching.
Think through the full setup, not just the empty frame. Strap length, the user’s posture, and the distance between the user and sled all influence the pulling angle. For a design review, sketch the setup from the side and mark where the strap runs during the intended use.
Make the attachment inspectable
The pull point should connect to a structural part of the frame and leave room to inspect its fastener, weld, or other connection. Check for sharp edges where a strap could rub, and consider whether the attachment is easy to reach when the sled is loaded. A detail that is hard to inspect is also hard to maintain.
Document the attachment location, hardware, and intended strap direction so another person can understand the design without relying on a verbal explanation. Any trial should begin in a clear area with a light, controlled pull and an inspection afterward. The useful question is not simply where the loop fits, but how that choice changes the whole pull setup.