
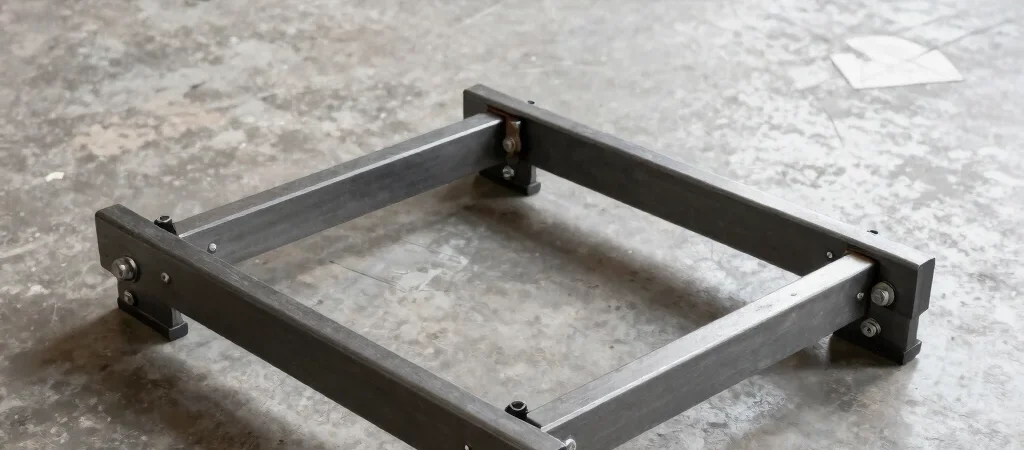
When planning a push-and-pull sled, it is tempting to begin with the frame and handle height. Begin underneath instead. The runners or feet are where the sled meets the floor, and their shape, spacing, and material affect movement, wear, and how easily the sled can be inspected.
Map the floor contact
Draw the contact points before choosing the rest of the layout. Note the distance between runners, the clearance under the frame, and whether the sled will travel on turf, rubber flooring, or another surface. A design intended for one gym floor may not behave the same way on another.
If the sled uses steel runners, decide how you will check them for wear and damage. Replaceable wear strips can make that task easier, but they add attachment details that belong in the engineering documentation. Record the materials and connection method rather than leaving the next builder to guess.
Give the frame a clear load path
A push handle transfers force into the frame, so its mounts need to connect to structural members rather than thin, unsupported surfaces. The same goes for a pull point: a convenient hole in a plate is not automatically a sound attachment. Sketch how force travels from the handle or strap connection into the runners.
Before use, inspect welds, fasteners, edges, and the runner connections, then test the sled gradually in a clear area. Keep notes on what was checked and what changed between versions. A useful build record makes a design easier for the next person to evaluate, repair, or improve.